|
|
Tutorial: Editing Text & Images on Your Website
|
- Login to your Control Panel by clicking "Client Login" located at the top of this page. Enter your username and password and click "Okay."
- Click on the "File Manager" icon located in the second row of icons.
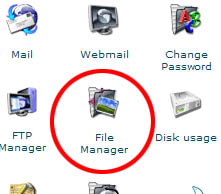
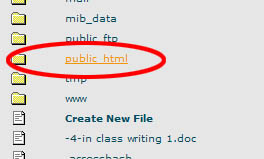
- This allows you access to all the files on your server. All the files that you would want to edit are found in the public_html folder. Click on the folder icon to the left of "public_html," NOT on the words "public_html" to get inside this folder.
- Say that you want to edit your homepage. The homepage file is always named "index.htm." To find the name of a different page find your site online and the name of the page that you want to edit can be found at the end of the web url, for example the Contact Us page for DI is found at www.diwebsites.com/contact.htm, so to edit this page we would locate the "contact.htm" file in the File Manager. Scroll down until you find this file and then this time click on the name, not the icon. A menu will show up in the upper right hand side of the screen that looks like this (minus the red arrow):

- Click on "HTML editor" and the page will open in a web page, ready to be edited. The editing commands are found along the top left of the page and you can switch between the Design view, html Code view, and Preview via the tabs at the bottom of the page.
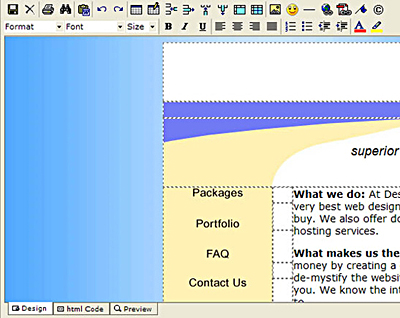
- Editing text in this editor is very similar to editing text in a MS Word document. The only difference is that you are editing text inside what are called "cells." The cells show up as dashed lines around different sections of your page. You cannot change the layout of your page, you can just edit what is already there. If you want to change the layout, please contact us at info@diwebsites.com.
- To replace an image, first click on that image to highlight it and then click on the image button in the editing commands at the top.
 Image Button Image Button
This pops up a box where you can either edit the image, or replace it by clicking on "Choose a different image..." at the bottom of this box to the right of the Cancel button. This pops up another box where you can either choose an image that already exists on your server in your images folder, or upload a new image:
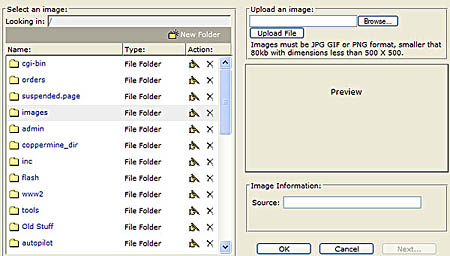
- To choose an existing image, simply click on the images folder which will open it, and then select the image from the list. When you click on an image's name, a thumbnail of it will appear to the right in the Preview box.
- To upload a new image, click on the images folder and then look in the upper-right of the box where it says "Upload an image:" Click on "Browse" which will open up a box where you can find the file that you want to upload. Once you have found it, highlight it and then click on "Open." A pathway should now be located in the upper-right of the previous box. Click the "Upload" button beneath it.
- Your new image should now be located in your images folder. To place it over the old image, just click "OK." If you decide that you got the wrong image, there is a red "X" delete button located to the right of the images' name on the left that you can click to take if off your server. Clicking this button will only delete it from the server, it will not delete the file from your computer.
- When you are finished editing your text and your images click on the Save button located in the editing toolbox at the top of the page.
 Save Button Save Button
Wait a few moments while your page is saving, and then click on the "continue editing" button. Open a new browser page and check out how your page looks online. If you need to edit it again, minimize the page and go back into the HTML editor which you left open.
If you have any further questions, please do not hesitate to email us at info@diwebsites.com.
Return to Tutorials
|
|